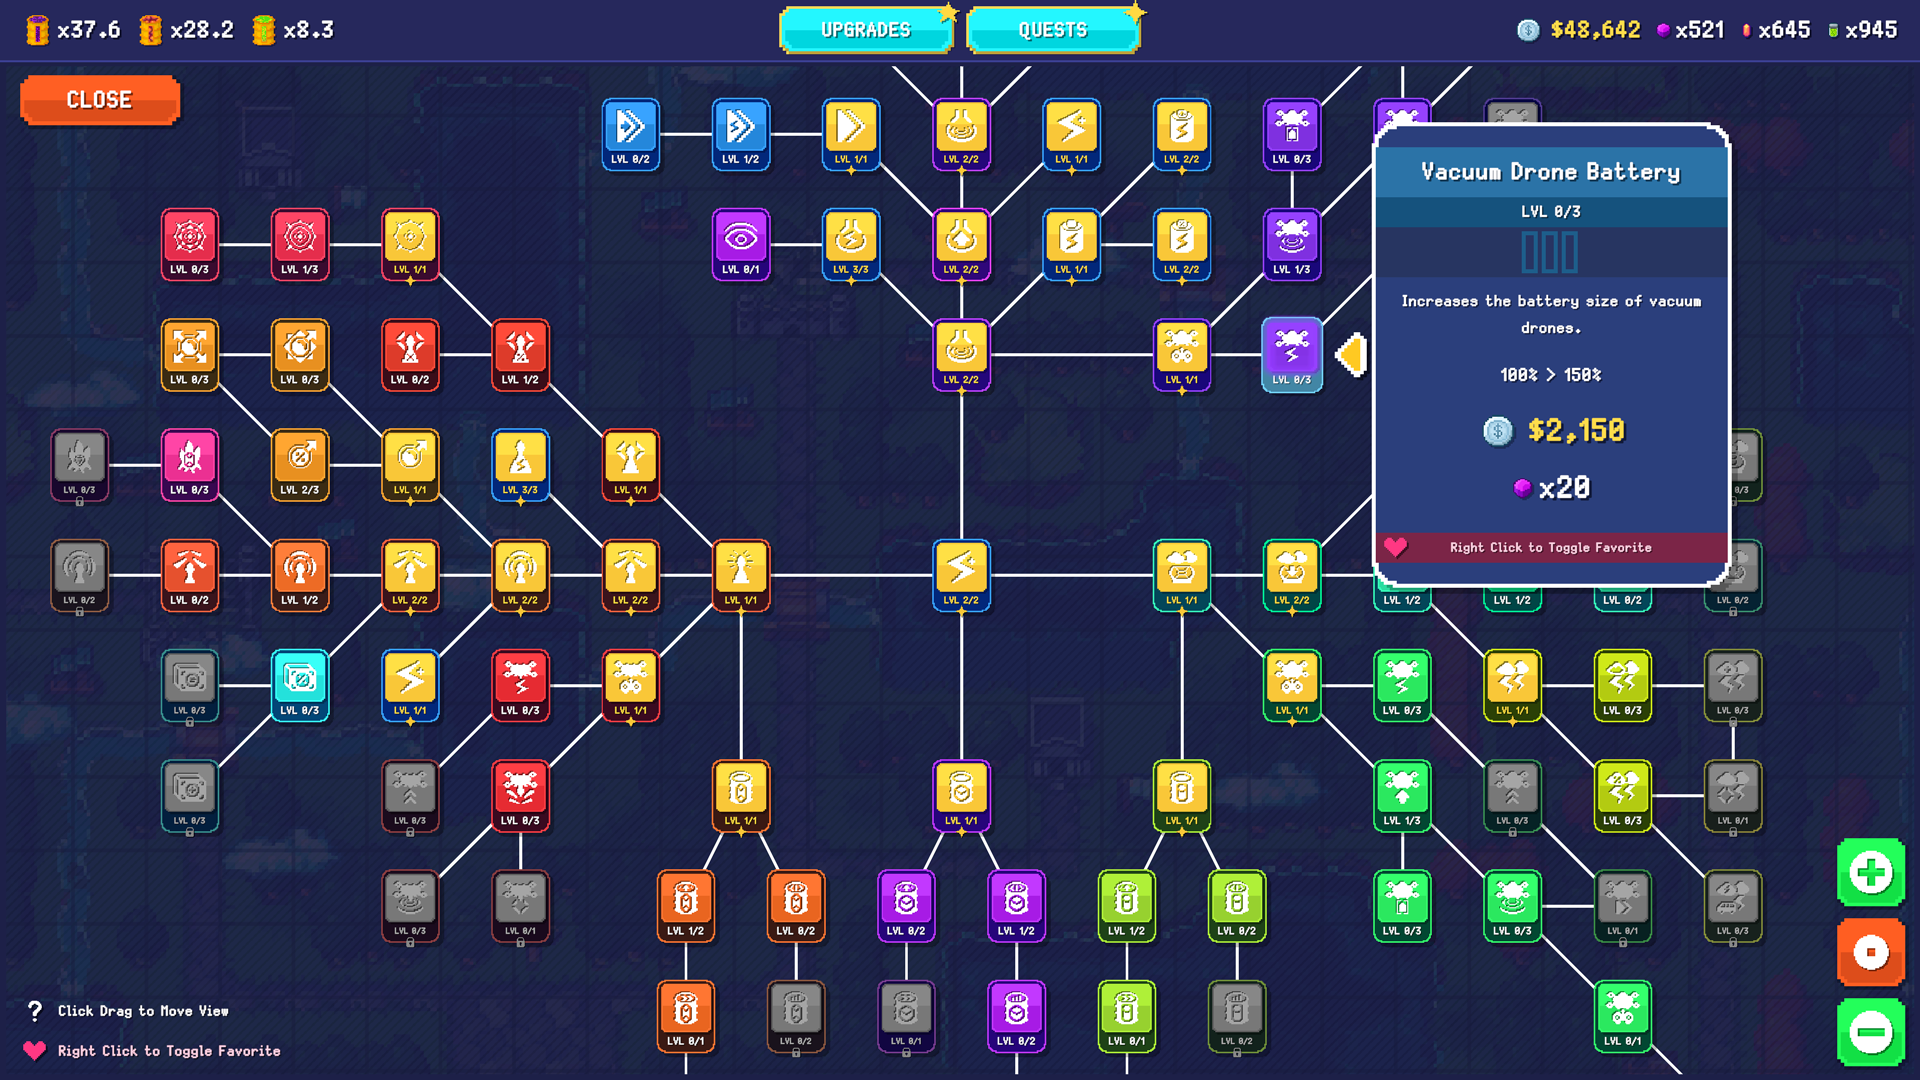

The upgrade tree is big enough to tempt you into buying whatever is newly lit up. That is usually the wrong reason to spend. A better rule is: buy the upgrade that removes the thing currently wasting the most energy or time.

Early game: make each vacuum pass count
Your first bottleneck is normally a mix of weak suction and short battery life. The most consistently useful early upgrades seen across full-release play are:
- Max Energy
- Vacuum Radius
- Vacuum Power
- Battery drop chance / recharge value
Radius feels great, but current footage also shows its limit: a huge circle is not much help if thick sludge still takes too long to clear. Once the next map feels “sticky,” buy power rather than another convenience node.
Refinery stage: automation beats babysitting
The refinery starts manual. You load pollution, start processing and come back later. As the tree opens, multi-load and auto-load reduce the amount of clicking and forgotten production.
In the long full-release stream, Auto-load was treated as a high-value quality-of-life purchase because it removes repeated manual loading. Patch #1 then made refinery processing more important by adding an additional processing upgrade that can push the old 120-second minimum down through 90 seconds to 60 seconds.
The practical order is:
- get enough loading/automation that the refinery keeps working while you play;
- buy processing speed when you are genuinely waiting on output;
- buy production/output nodes when the refined resource itself is the gate.
Do not max loading speed just because it is cheap if the processor is already the slow part.
Crystal stage: Jackhammer damage is an energy upgrade in disguise
The first Zorkite maps punish an under-upgraded Jackhammer. Large crystals can eat a huge chunk of a battery while you stand still drilling. That makes raw Jackhammer damage valuable even before fancy effects.
Then add, as affordable:
- Jackhammer Radius when crystal clusters overlap;
- critical-hit upgrades when they begin to unlock meaningful burst;
- crystal shrapnel / area effects when they let one hit help clean nearby crystals;
- idle/no-target energy efficiency if you are losing power while repositioning.
The point is not to chase crit memes. It is to shorten the time the energy bar is paying for a tool that has not finished its target yet.
Drone stage: buy the helper that is actually helping
Full-release footage confirms Vacuum and Jackhammer drone play, later followed by Air Filter drone support. Their useful stats include battery, radius, capacity and performance upgrades.
A good rule:
- If the drone runs out of battery before doing meaningful work, buy battery.
- If it fills and returns constantly, capacity matters.
- If it is cleaning the wrong tiny patch while a huge dense zone remains, radius and targeting behavior become more relevant.
- If a particular tool is your wall, upgrade that drone type rather than spreading resources evenly.
Patch #1 reduced the Draxine and money cost of Drone Capacity and Speed upgrades by roughly 30%, so launch-day videos can overstate what those nodes cost now.
Gas stage: Air Filter suction and energy efficiency jump the queue
Gas maps feel different because active vents keep making more work. Current footage repeatedly hits the same failure: the map is mostly clean, but gas clouds still drain the last battery.
At that point, Air Filter suction and gas-related energy efficiency are not optional polish. They are progression upgrades. Air Filter drone improvements also become much more valuable than another tiny vacuum convenience node.
What not to do
Do not copy an old “max everything left-to-right” route. Do not use demo costs as current numbers. Do not assume a node is best because it is deeper in the tree.
The best upgrade is the one that changes your next run enough to unlock the next useful payout.