This walkthrough is deliberately a progression guide, not a fake “every pixel, every object” map. The current full-release footage is strong enough to verify the order in which major systems appear, while some exact sub-area labels are still easy to misread in auto-transcribed video.
Stage 1: vacuum, cash and battery management
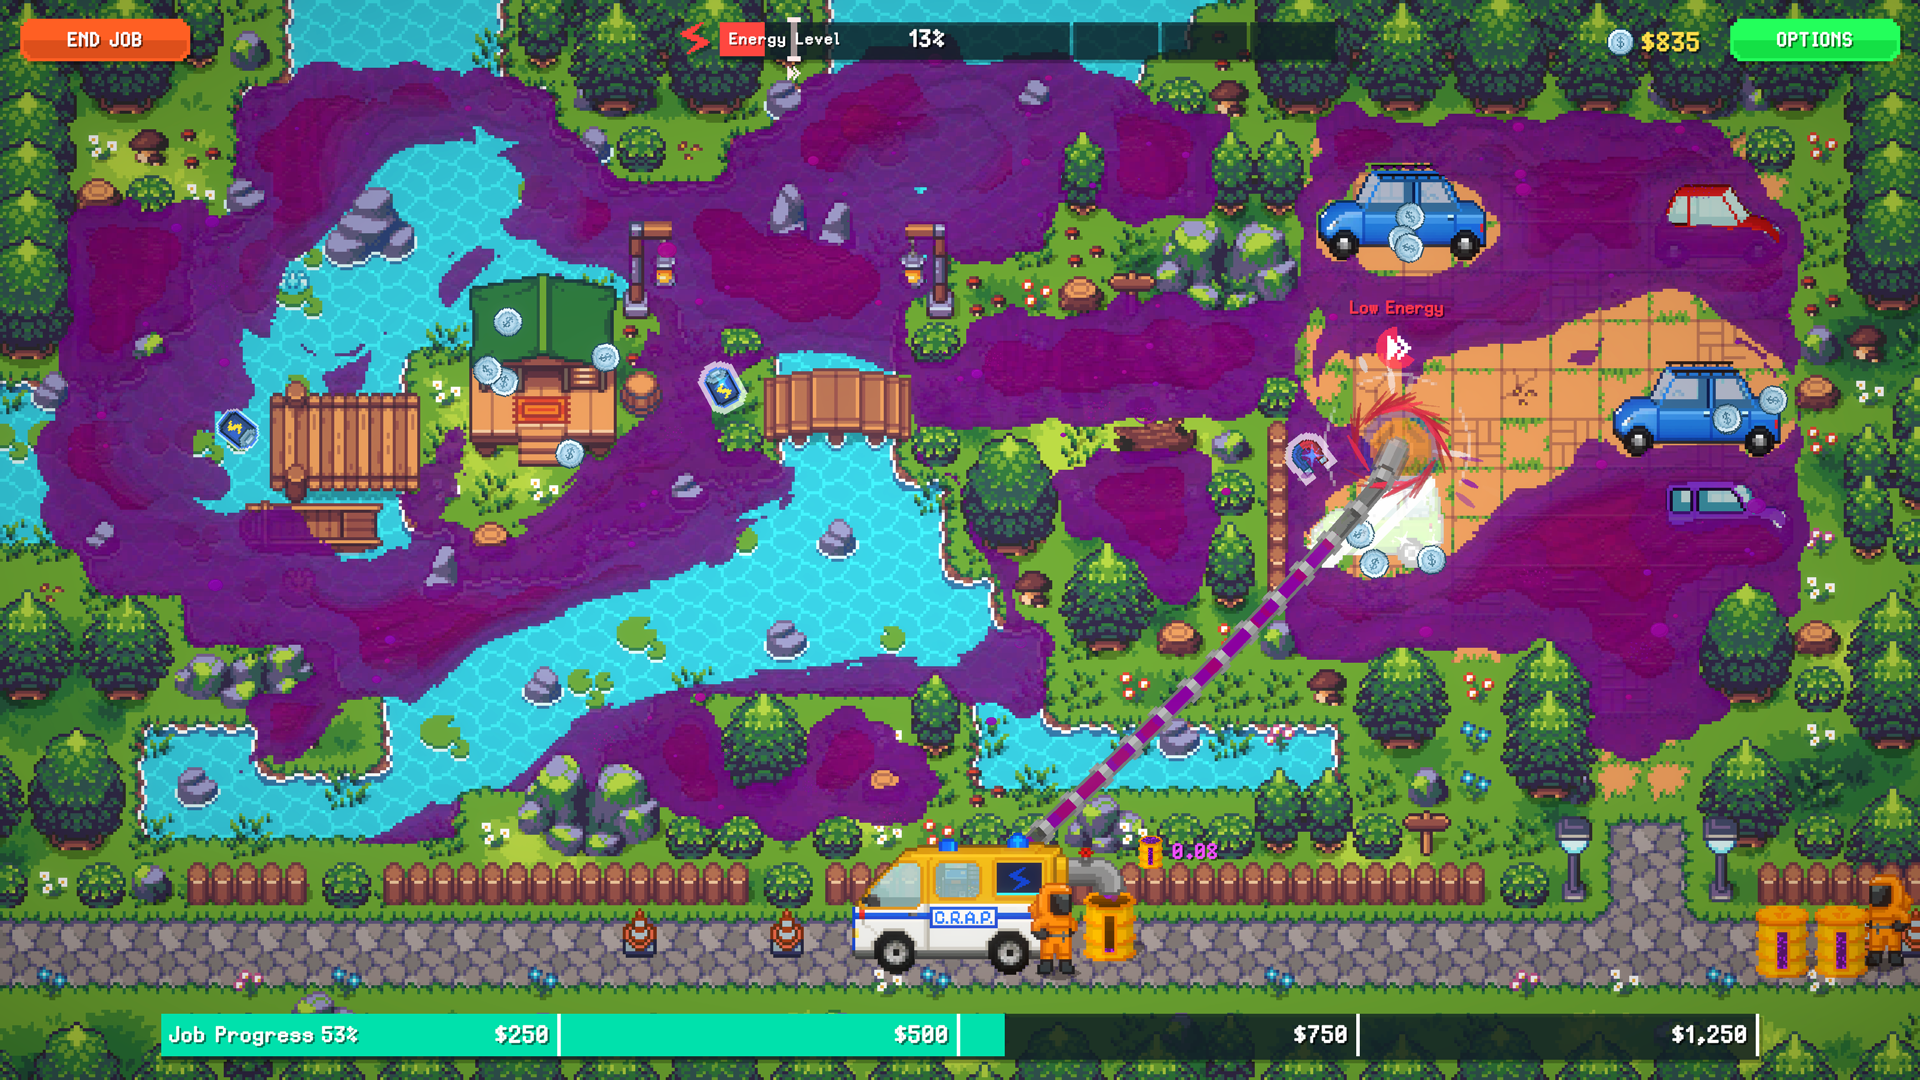
The opening jobs teach the core loop: clean what you can, take the payout, upgrade and replay. The first clearly named locations observed in current footage include Camp Mellow and Mount Serene Trailhead, followed by Tranquil Lake.
Your goal here is not to rush every utility node. Build enough Max Energy, Vacuum Radius and Vacuum Power that the next region no longer feels impossible. Bonus-object battery upgrades are especially useful because they convert good object routing into more run time.
Stage 2: the Draxium refinery
After the early jobs, the Draxium refinery becomes part of the map. Start processing before you go back into the field. Draxium Sludge becomes Draxine, and Draxine opens later upgrades.
At this stage, a little automation is worth more than babysitting the machine. Multi-load and Auto-load remove repeated clicks; processing speed matters once the timer is actually what you are waiting on.
Stage 3: thicker maps and better cash farming
Full-release footage moves through locations including Breezy River before the crystal stage. If the newest area is paying badly because the sludge is too thick, a fast replay of the previous map can fund the suction upgrade that makes the new region viable.
This is not backtracking failure. It is the incremental loop doing its job.
Stage 4: Jackhammer and Zorkite
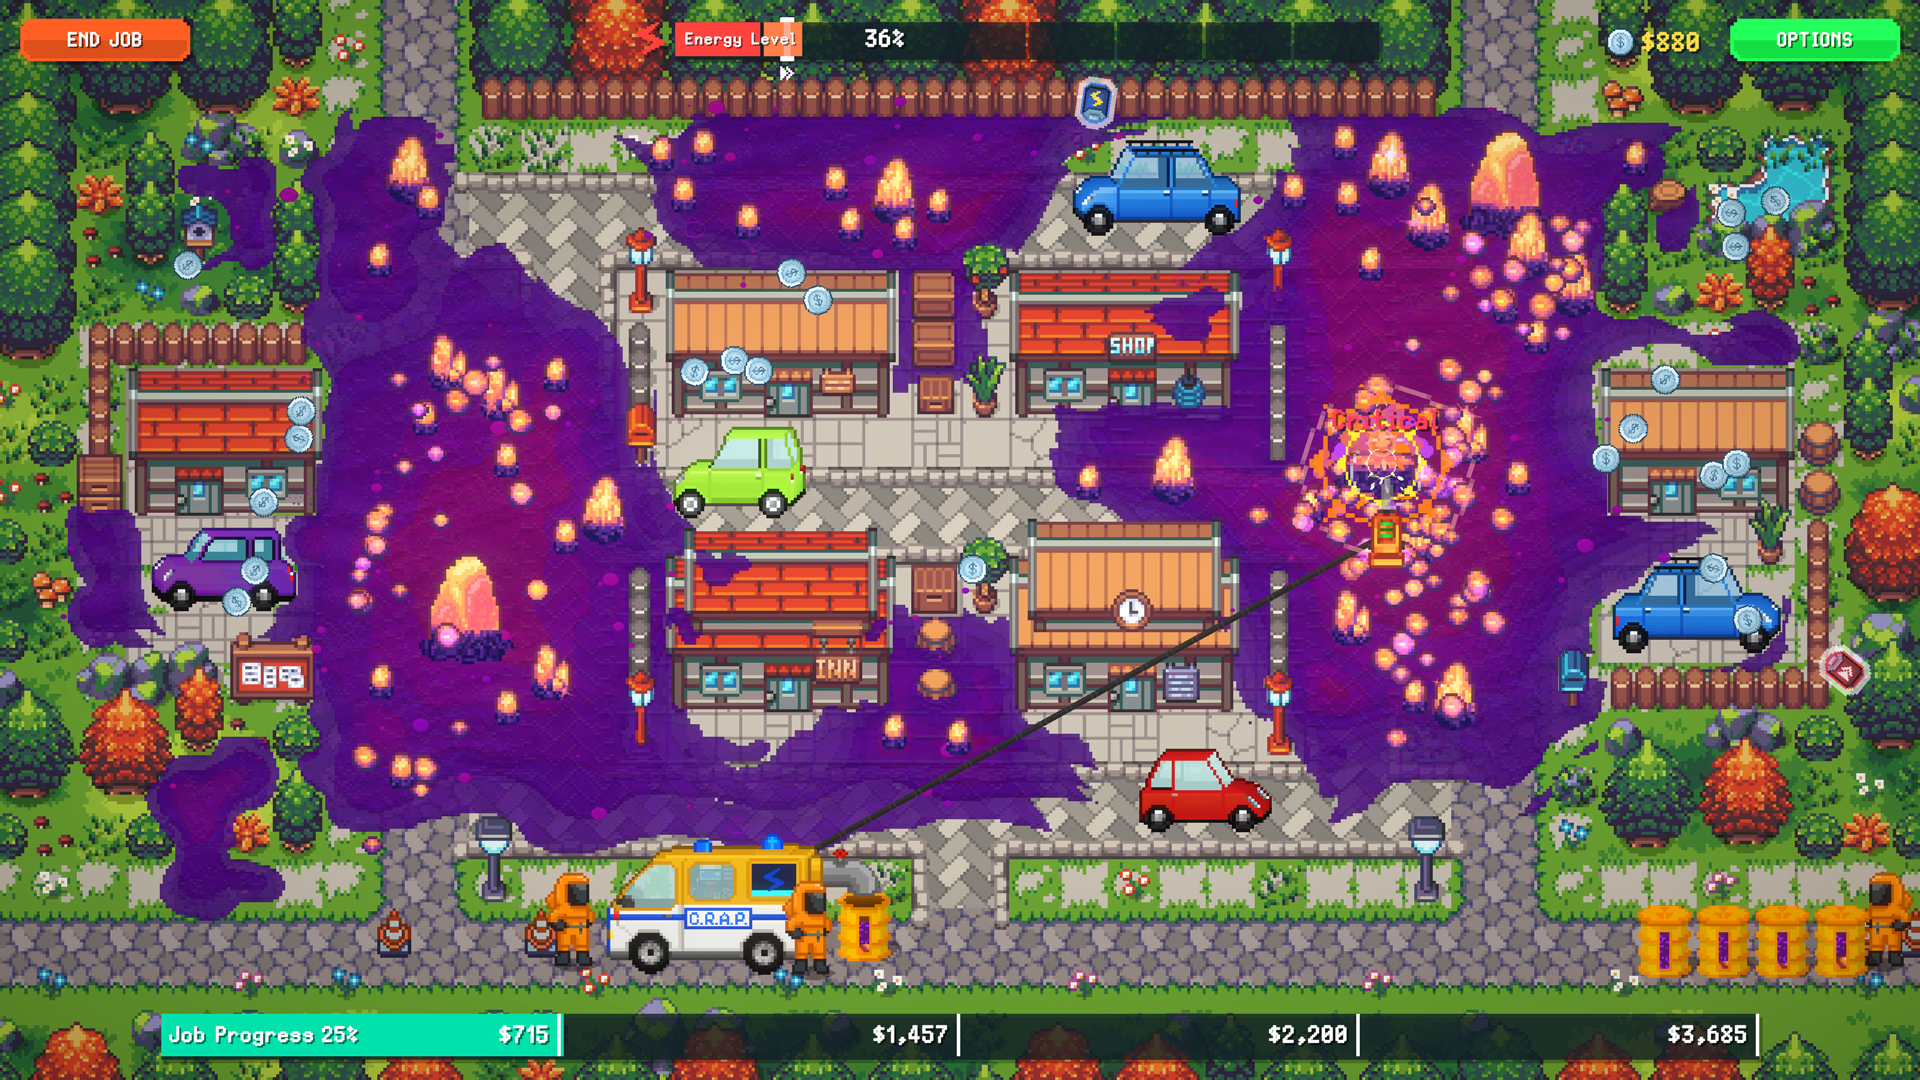
By the Easy Stop Rest Stop / crystal-stage part of progression, the Jackhammer is required. Crystal objects are now part of completion and Zorkite Ore becomes a second raw resource.
Prioritize Jackhammer damage first if one dense crystal is consuming the whole battery. Then add radius/crit/area effects as the tree opens. Unlock the Zorkite refinery so the ore can become Zorkon.
Stage 5: drones and larger mixed-tool maps
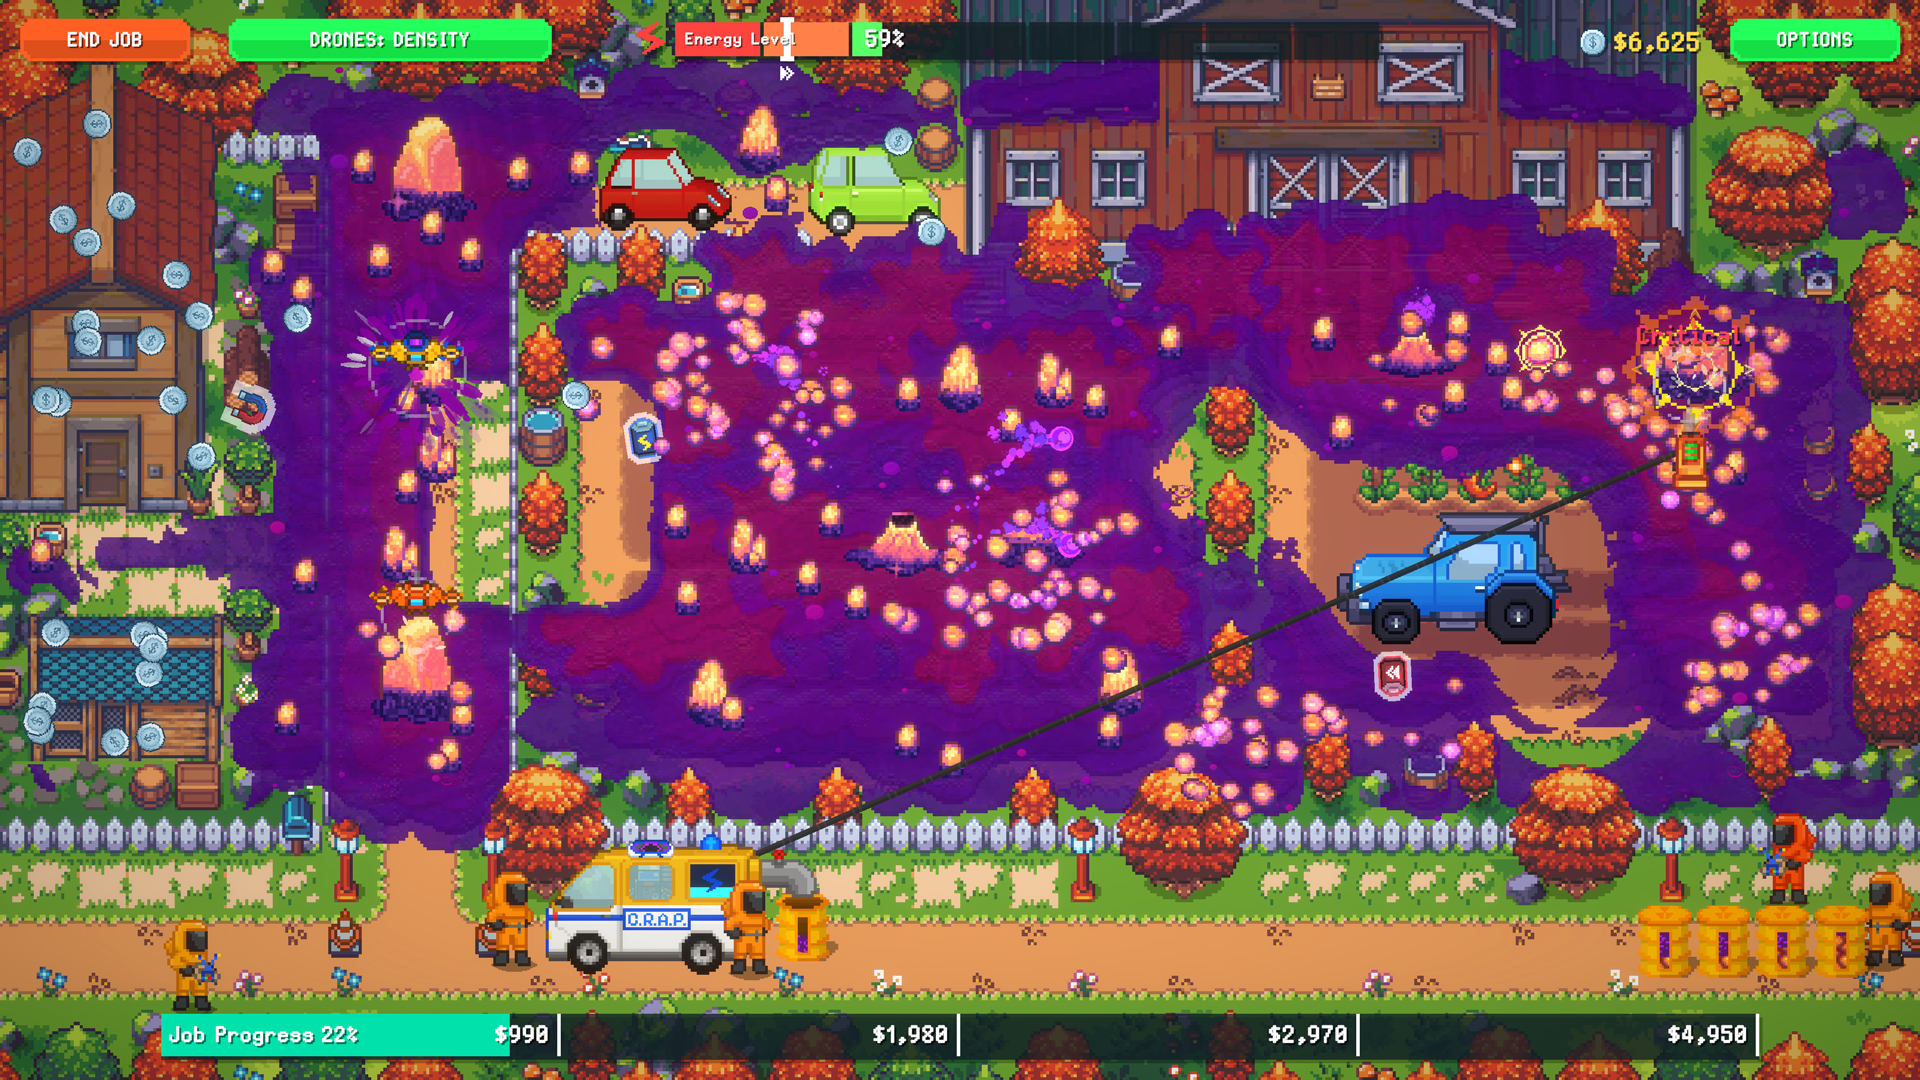
Current footage later shows Evergreen Market, Harvest Hill Farm and Shady Oaks Ranch while drones become a real part of the build. Vacuum and Jackhammer drones start removing categories of manual work, but they need enough battery/capacity to matter.
This is a good point to stop spending as if the vacuum is the only tool in the game. If crystals are the bottleneck, strengthen the Jackhammer side. If normal sludge is eating all your time, strengthen Vacuum Drone coverage.
Stage 6: Air Filter, Vexon gas and vents
Region-five footage introduces the Air Filter, Vexon gas, Vexigen refining and the quest to collect pollution barrels with drones. Quiet Shores Resort is explicitly observed around this transition.
Gas maps demand a different opening: kill exposed vents before they keep producing more clouds, then use Air Filter suction and gas-efficiency upgrades to keep the last 20% of the map from consuming the whole run.
Later footage also shows Stone Ridge Plaza as a large mixed-resource area with vents, crystals, sludge and safes competing for attention.
Stage 7: safes, diamonds and endgame upgrades
Safes become a source of refined resources and later diamonds. Patch #1 increased refined resources from safes by 250%, making them more important than in launch-day recordings.
By now, the upgrade tree is less about “what is good?” and more about “what is still holding me back?” Draxine can become the obvious gate, which is why Patch #1 also reduced some late-game Draxine costs and added faster refinery processing.
Final cleanup
The finale video reaches Generic Corp Lab, described in the run as the source / final concentration of the pollution. Finishing the final job triggers the game-completion sequence and the Pollution Solution achievement.
After the ending, the game still lets the player keep cleaning, finishing quests and buying the remaining upgrades. That post-completion grind is where Completionist, remaining safes/diamonds and full tool upgrades live.
Name accuracy note: the region names above are only included where they are repeatedly readable in full-release footage. We do not fill the gaps with invented map names just to make the list look complete.