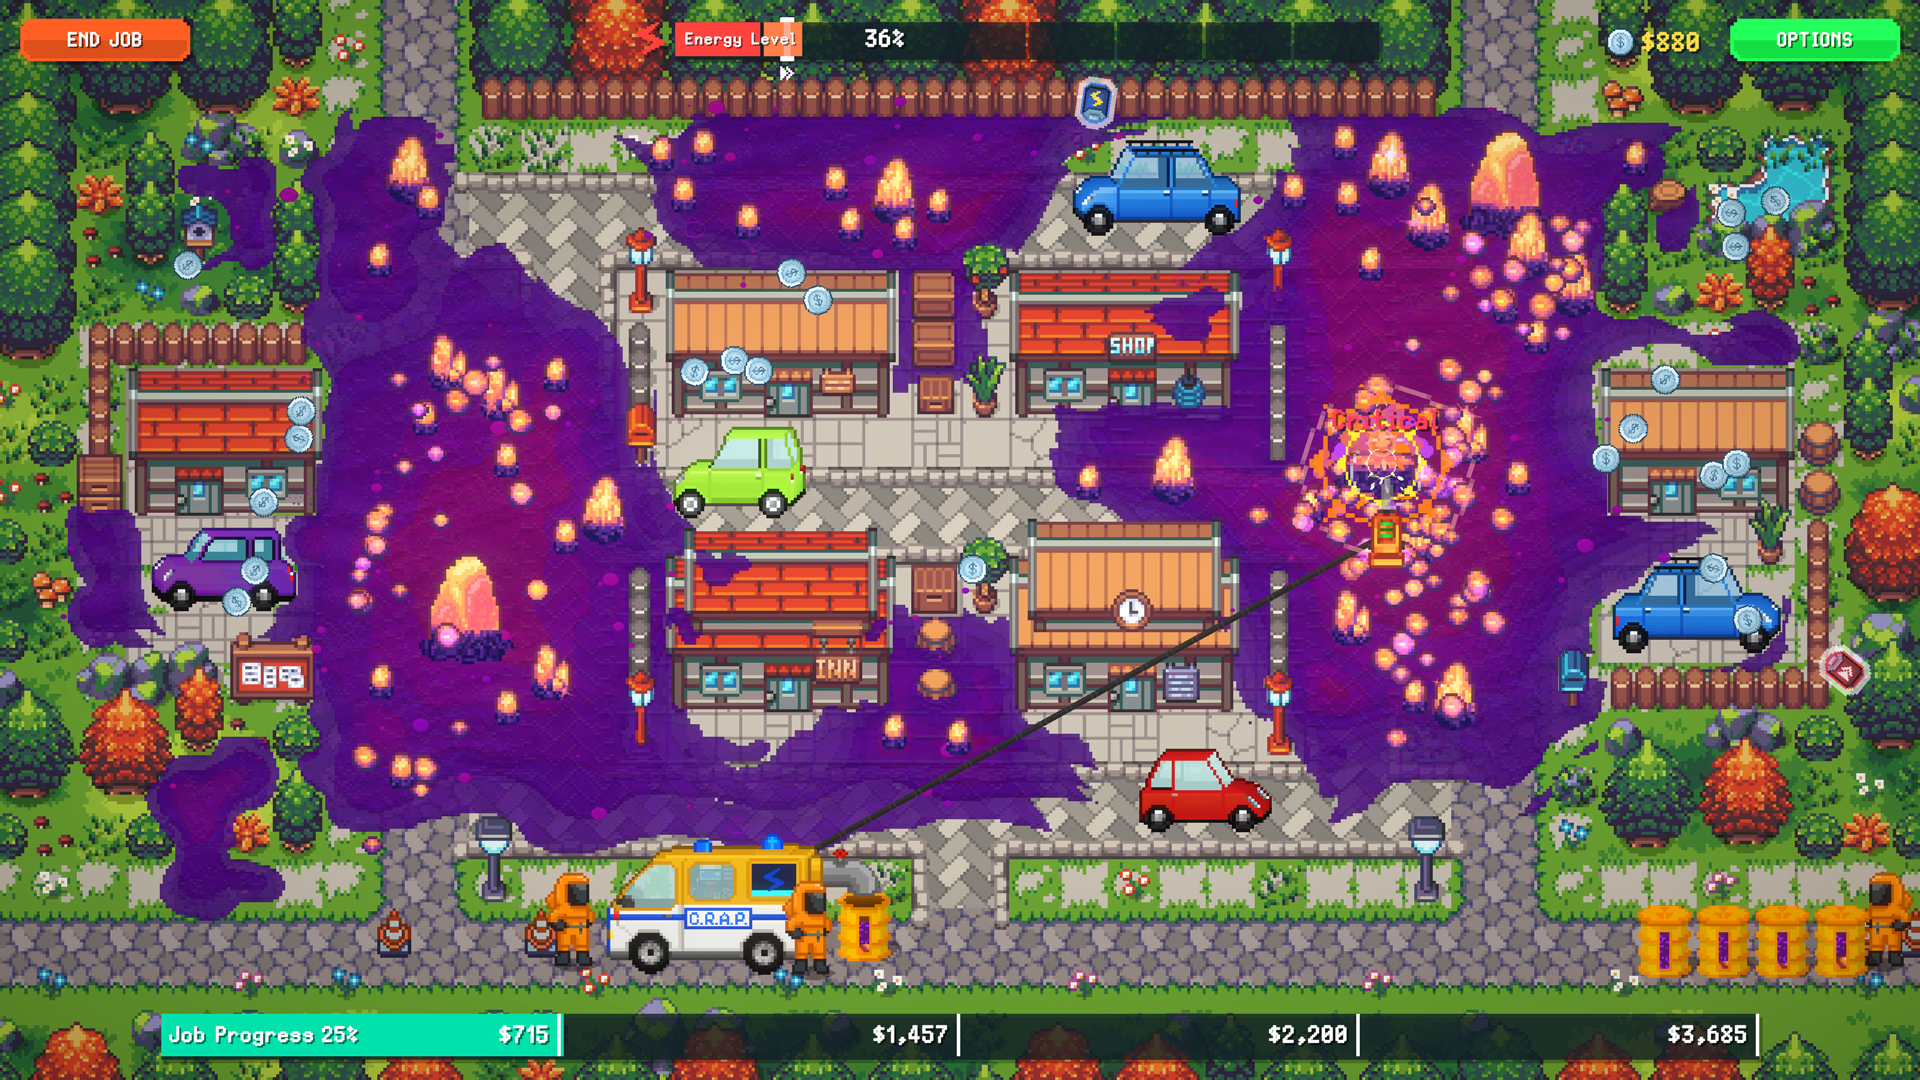

Zorkite is where Sludgineers stops letting the vacuum solve everything. Current full-release play introduces crystal deposits that must be broken with the Jackhammer before the map can be fully cleared. The collected Zorkite Ore then feeds its refinery and becomes Zorkon.
Why the first crystal map feels so expensive
A weak Jackhammer can sit on one dense crystal for a long time while the same global energy bar keeps draining. That is why the crystal stage often feels like your build suddenly got worse.
It did not. The game added a second expensive tool to the same battery.
The first fix is usually straightforward: increase Jackhammer damage. Killing the target faster is effectively an energy-efficiency upgrade because you spend fewer seconds paying for the tool.
Break crystals before they block your completion route
Current footage shows crystal placement physically blocking clean completion of some objects and areas. It is usually better to remove the crystal that is preventing progress than to vacuum around it and come back later.
Once Jackhammer radius and area effects improve, grouped crystals become a much better target. Some playthroughs show critical hits and later shrapnel helping damage surrounding crystals, which can turn a dense cluster into a chain of cheaper clears.
That behavior is video-tested, not an excuse to invent a hidden crit formula. We do not publish an unverified percentage table for it.
Zorkite to Zorkon
The current resource chain observed in full-release play is:
Zorkite Ore → Zorkite refinery → Zorkon
The same practical refinery rules apply as with Draxium: keep the input flowing, automate repetitive loading, and only buy more processing speed when processing is actually the wait.
Upgrade priorities for the crystal stage
If crystals are the reason your run ends early, the useful sequence is usually:
- Jackhammer damage.
- More global energy / battery help if the whole run is short.
- Jackhammer radius when multiple nodes can be hit together.
- Crit and area/shrapnel effects as they become affordable.
- Refinery automation so collected Zorkite does not become a manual chore.
Full-release footage also shows magnets later gaining the ability to collect Zorkite-related drops, which makes cleanup after a big crystal burst much less annoying.
Drones change the math later
Once Jackhammer drones arrive, you no longer need to personally pay for every crystal. That does not mean the problem disappears: a weak Jackhammer drone can also run out of battery before finishing useful work.
At that point, compare your Jackhammer bottleneck with the drone’s. If the drone is doing enough damage to save you a full manual pass, its battery/damage/radius upgrades can be more valuable than another personal convenience node.